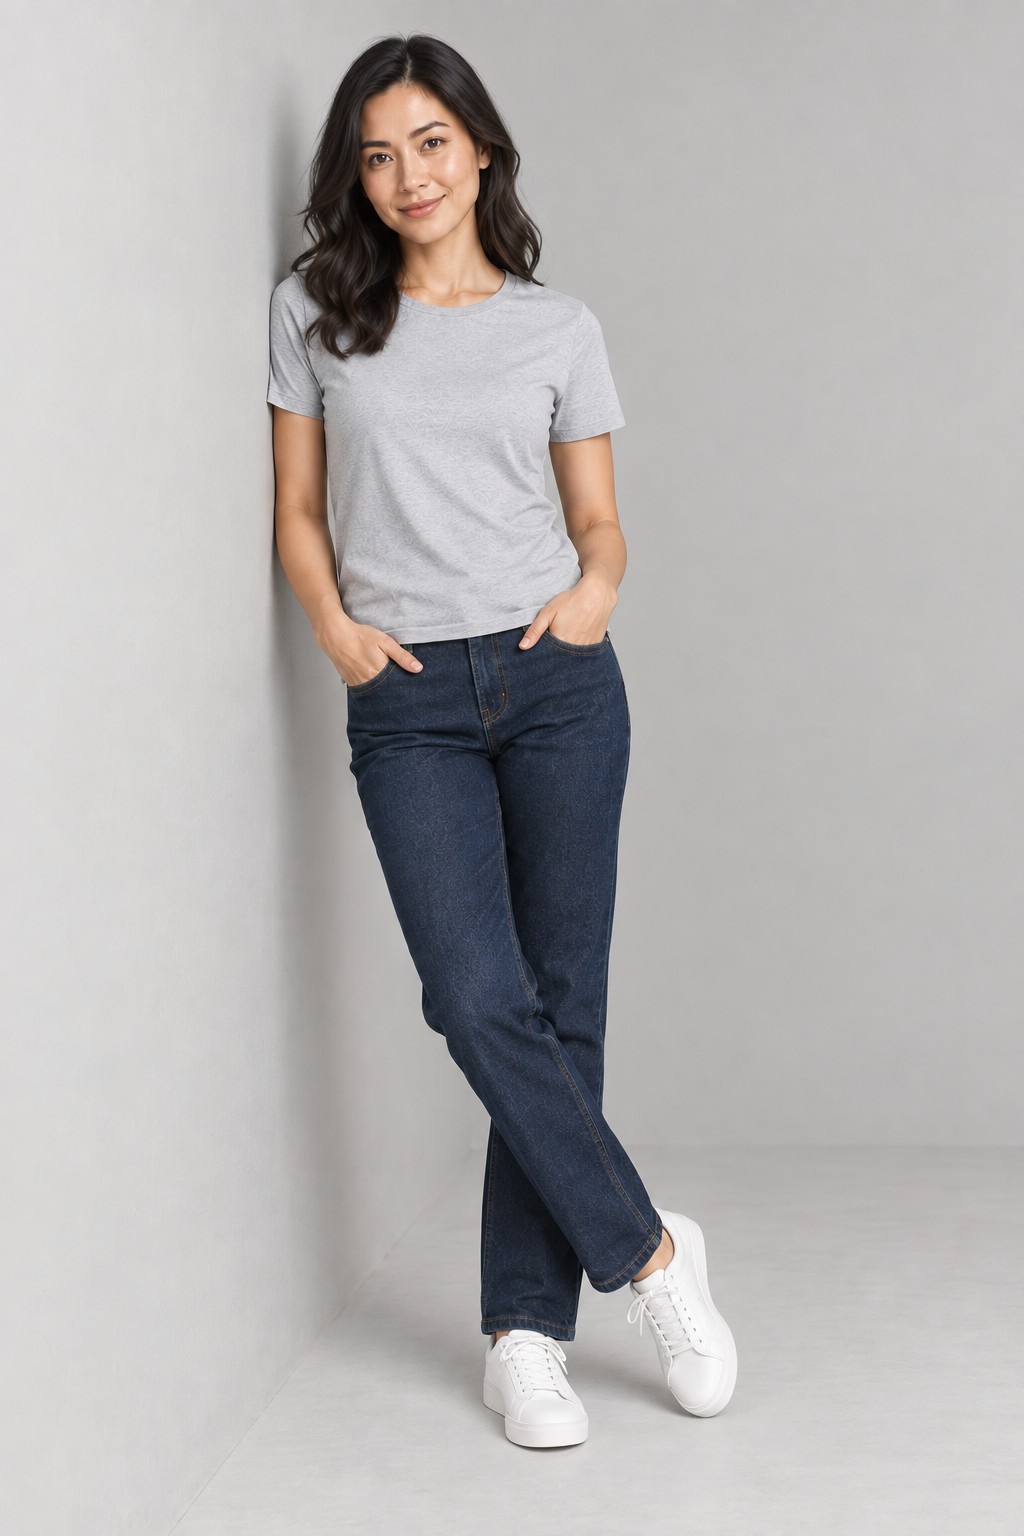
Pose menus are full of words that mean nothing until you see them. Contrapposto. 3/4 body. Cross-leg stance. If you are listing kurtis on Meesho, you do not want a vocabulary lesson — you want to know which option produces the image that gets approved and gets clicked.
So this guide is built around three reference sheets. Each one shows the same model in the same outfit in every pose option available, grouped into four sections. Nothing changes between the frames except the pose, the frame, or the view — which is the only honest way to compare them.
Below each sheet, the practical part: what each option is actually good for when you are filling image slots on a listing.
Section 1: Pose variants
These are the static, standing (and one seated) options. This is the section that decides how the garment's silhouette reads — the outline a shopper sees in a thumbnail before they read a single word of your title.

- Straight — square to the camera, weight even on both feet. The most neutral pose there is. This is your main catalog image, full stop. The hemline sits level, the neckline is symmetrical, and nothing about the body is interpreting the garment for the buyer. It is also the pose least likely to be questioned in marketplace catalog review.
- Angled 45° — the body turned halfway between front and side. Shows the front and the side depth in one frame, which makes it the single most useful second image. Good for anything with volume: anarkalis, A-line kurtis, pleated skirts, jackets.
- One leg bent — a small break in the leg line. Reads as relaxed rather than posed. Useful for kurtis and western wear where a completely rigid stance looks like a mannequin shot, and for showing that a hem falls in front of the leg rather than hanging off a board.
- Cross-leg stance — ankles crossed or one foot placed across the other. Narrows the lower silhouette. This flatters slim-cut bottoms — churidars, cigarette pants, skinny jeans — and is a poor choice for palazzos or shararas, where you actively want the width to show.
- Contrapposto — weight on one leg, hips tilted one way and shoulders the other, so the body makes a soft S-curve. This is the fashion-editorial default. Use it for fitted garments where the waist is the selling point: bodycon dresses, fitted kurtis, a shirt tucked into jeans. Avoid it on the main image for a saree or a straight-cut kurta — the tilt puts the hemline off-level and makes drape look uneven.
- Sitting — a supporting image, never a main one. Its job is to answer a question the standing shots cannot: does this fabric crush? Do the pleats hold? Sellers of cotton and linen get real value here, because sitting shots set honest expectations and honest expectations are what bring return rates down.
Section 2: Movement poses
Three options, and all three exist for one reason: fabric behaves differently when it moves, and a static shot cannot show that.
- Walking — mid-stride, facing forward. The one movement pose worth adding to almost every listing with flowing fabric. Georgette, chiffon, chanderi, a pleated skirt, a dupatta: walking is what proves the fabric is light. On a stiff cotton kurta it adds nothing, so skip it.
- Walking, looking away — same stride, head turned off-camera. Reads as lifestyle rather than catalog. This is your Instagram and WhatsApp-status frame, and it works well on boutique WhatsApp catalogues where you are selling a look rather than a spec sheet. Do not use it as a main marketplace image — a face turned away is the kind of thing that gets flagged in review.
- Leaning — against a wall or surface. Casual and relaxed; suits menswear, denim, t-shirts and streetwear. The trade-off is real: leaning compresses one side of the garment against the wall, so you lose a clean read on that side seam. Use it as a fifth or sixth image, not a second.
Upload one flat photo, pick a pose from this sheet, get a studio-quality model shot. 5 free credits, no card needed.
Try Free Now →
Section 3: Camera frames
The frame decides how much of the image your product actually occupies. Get this wrong and you have paid for a photo that is mostly trousers the buyer is not shopping for.

- Full body — head to feet. Mandatory for anything where total length matters, which is most of ethnic wear: sarees, lehengas, anarkalis, gowns, palazzo sets. Also the frame marketplaces expect for a primary apparel image. If you only generate one image, generate this one.
- 3/4 body — roughly head to mid-calf or knee. The efficient compromise. You keep the whole upper garment plus enough of the bottom to show proportion, but the garment fills far more of the frame than in a full-body shot. Excellent for kurtis, tops, shirts and short dresses, and the frame that survives thumbnail compression best.
- Waist-up — upper body only. Non-negotiable for products that are the upper body: blouses, crop tops, printed t-shirts, jackets, shirts. A full-body frame on a blouse wastes most of the image on a skirt you are not selling. Also the right frame for neckline and yoke embroidery.
- Close-up — tight crop on the fabric and the work. This is the image that sells craft. Zari borders, thread work, mirror work, block prints, weave texture, a print's actual scale. For a ₹4,000 (about $48) handloom saree the close-up may matter more than any pose, because it is the only frame where the buyer can judge quality. Get this right and you are answering the "is the material good?" question before it is asked.
If a garment is a top only, CatalogX will hold the frame at waist-up so the product fills the frame instead of shrinking into a full-length shot. Category-by-category guidance lives on the photography pages — saree, kurti and t-shirt.
Section 4: View and hand options
The final block covers which side of the garment faces the camera, and what the arms are doing. Both are small settings with an outsized effect on whether a detail is visible at all.

Views
- Front view — the default, and the only safe choice for a primary image. Everything a marketplace reviewer expects to see is here.
- Side view (right) / side view (left) — the profile. Two things only the side shows: how far the garment sits away from the body (fit and volume), and side detailing — slits, side seams, asymmetric hems, pocket placement. You get left and right separately because embroidery, prints and drapes are often on one side only. Pick the side your work is on. For a saree, the left profile usually shows the pleats best while the pallu falls over the left shoulder.
- Back view — add it when there is something back there worth seeing. Genuinely worth it for a saree or lehenga where the pallu work spreads across the back, for a dupatta fall, for back necklines and tie-ups on blouses and kurtis, for a back print or a zip. Not worth an image slot for a plain-backed kurta or a front-print-only tee — a side view will teach the buyer more. More on building the set for occasion wear in the lehenga photography guide.
Hands
- Hands by side — arms down, relaxed. The correct choice for your main image every time, because the arms are not covering the garment. Anything on the placket, the waist, the side seam or the sleeve stays fully visible.
- Hands crossed — arms folded across the chest. Confident and casual, and popular in menswear and streetwear. Understand the cost: crossed arms hide the chest. That is exactly where a t-shirt graphic, a shirt placket, a blouse neckline or chest embroidery lives. Use it for a lifestyle frame, never for the image that has to show a print.
Inside the app the advanced options add a few more hand positions — on hip, in pocket, and holding a prop — which the sheets do not cover. On hip is the classic saree and lehenga choice because it lifts the pallu and shows the drape; in pocket suits jeans and chinos.
What marketplaces need — and how that narrows your choice
Half the pose decision is already made for you, because the primary image on Indian marketplaces is a compliance artefact before it is a creative one. Across Meesho, Amazon India, Flipkart and Myntra the expectations for a main apparel image converge on the same thing:
- A front-facing model, face visible and looking at the camera
- A plain background — white or very light, no props, no room, no text overlay, no logo or watermark
- The whole garment in frame, filling most of it, not cropped at the hem
- Clean, even lighting with no heavy shadow across the product
Translated into this sheet, that is one exact combination: straight + front view + full body + hands by side + plain background. Every other option on the sheet belongs in a secondary slot. This is the single most common reason catalogues get sent back — a nice angled or walking shot used as the main image. If yours has come back, the fixes are catalogued in Meesho catalog rejected and Flipkart image rejected.
Per-platform detail lives on the marketplace pages: Meesho, Amazon India, Flipkart and Myntra. Exact pixel dimensions are collected in the image sizes guide, and if you need to resize what you already have, the marketplace image resizer is free — as are the Meesho and Flipkart versions. Using AI-generated model photos is permitted on these platforms provided the garment shown is the garment you ship; the policy position is covered in Are AI model photos allowed on Indian marketplaces.
Building a five-image set from these options
Most listings give you five to seven slots, and filling all of them beats filling three. Here is a set for each of the three outfits on the sheets, written as exact option combinations you can copy.
Saree
- Straight, front view, full body, hands by side — plain background (main)
- Angled 45°, full body — shows the pleats and the fall
- Back view, full body — the pallu work across the back
- Close-up — the border and zari
- Walking, full body — proves the fabric is light
Kurti set
- Straight, front view, full body, hands by side — plain background (main)
- Angled 45°, 3/4 body — shows the side and the sleeve
- Waist-up — the neckline and yoke embroidery
- Close-up — the print scale and fabric
- Back view or sitting — back detail, or how the fabric behaves
Men's t-shirt
- Straight, front view, full body, hands by side — plain background (main)
- Waist-up, front view, hands by side — the graphic at full size
- Angled 45°, 3/4 body — the fit through the shoulder and chest
- Close-up — the knit texture and print quality
- Back view if there is a back print; otherwise leaning, for a lifestyle frame
Every one of these is a pose setting, not a second photoshoot. The starting point is a single flat or mannequin photo of the garment — see how to make a model photo for Meesho and Flipkart for the full workflow, and the tools overview for what else you can do to the output afterwards.
Where this guide fits
This page is a lookup table: what each named option looks like, and when to use it. Two neighbouring guides go deeper in other directions.
- Choosing the right pose, angle and background — read this next if your question is how pose, camera angle and background interact, and how to match them to a product category. Background is deliberately out of scope here.
- Best saree model poses — read this if you sell sarees specifically. It goes into pallu draping styles and regional drapes, which no general pose sheet can cover.
The same three sheets are built into CatalogX behind the View guide link on the pose step, so you can check an option without leaving the flow — and without spending a credit to find out what "contrapposto" meant.
Related Articles
- Choosing the Right Pose, Angle & Background for Your Product Photos
- Best Saree Model Poses for E-Commerce Photography
- Flat-Lay vs Model Shots: Which Sells More?
- T-Shirt Catalog Photography: The Marketplace Guide for Indian Sellers
Frequently Asked Questions
Use the straight pose, front view, full body camera frame, hands by side, on a plain background. It is the most neutral combination available, it shows the whole garment without the model's arms covering any part of it, and it is the safest choice for marketplace catalog review on Meesho, Amazon India and Flipkart. Save the angled and movement poses for your secondary image slots.
Contrapposto is a standing pose where the model's weight rests on one leg, so the hips tilt one way and the shoulders tilt the other. It creates a natural S-curve through the body. Use it for fitted garments — kurtis, bodycon dresses, shirts tucked into jeans — where you want the waist to read clearly. Avoid it for the main image of a saree or a straight-cut kurta, because the tilt makes the hemline sit unevenly.
Use waist-up. A full body frame on a blouse or a printed t-shirt spends most of the image on trousers or a skirt the buyer is not shopping for, and shrinks the actual product to a small part of the frame. Waist-up fills the frame with the neckline, sleeves, and print or embroidery. Follow it with one close-up if the fabric texture or thread work is a selling point.
No. Add a back view only when there is something on the back worth seeing — a saree or lehenga pallu, a dupatta fall, a back neckline or tie-up, a back print on a t-shirt, or a zip. For a plain-back kurta or a front-print-only t-shirt, a back view adds an image slot without adding information, and a side view is usually more useful.
Yes. The pose reference sheets in this article show the same model and outfit in every pose variant, movement pose, camera frame, view and hand option, so you can compare them side by side. The same sheets are available inside CatalogX from the View guide link on the pose step, which means you can pick your combination before spending a credit on a generation.