A competitive e-commerce listing needs 5-7 high-quality images: multiple model shots, detail close-ups, and lifestyle images. Creating these traditionally requires a full-day photoshoot, a week of editing, and a budget that would make most small brands wince.
With AI tools, the entire process can be done in under 5 minutes. Here's exactly how.
Step 1: Photograph Your Garment (60 seconds)
You need one clean garment image. This is the only real photography involved. Here's how to get a good one:
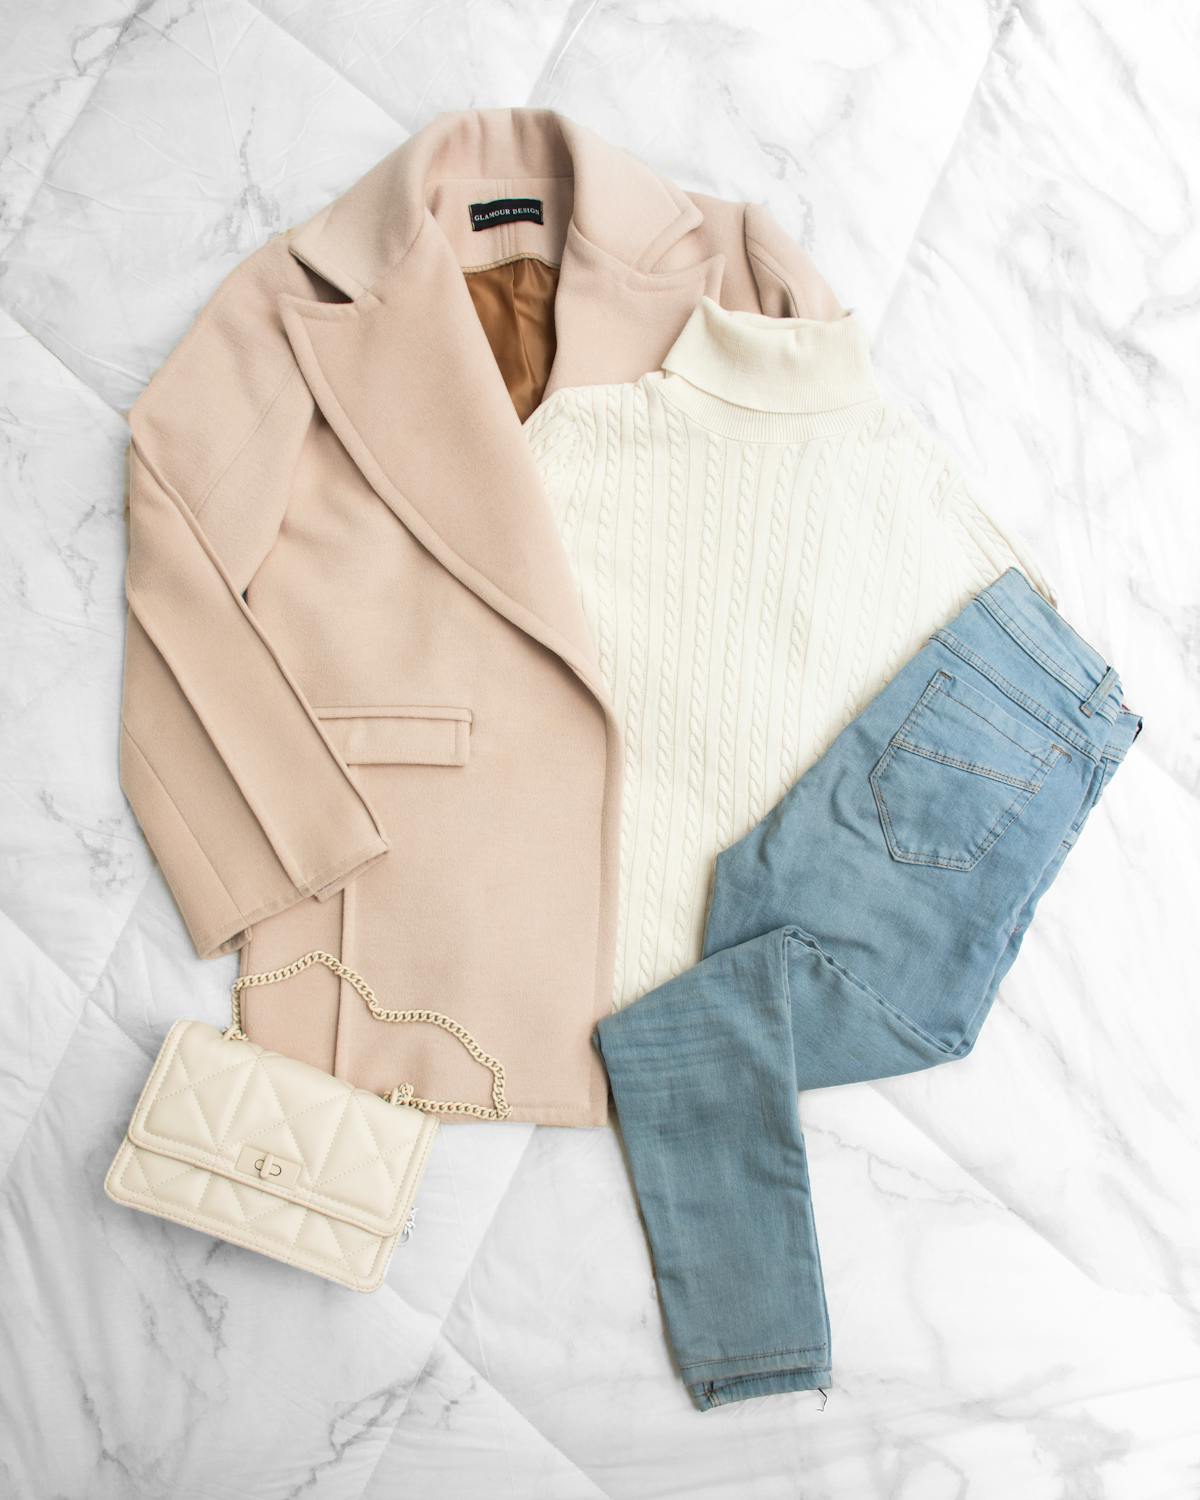
- Flat-lay on white: Lay the garment flat on a white surface. Natural daylight near a window works best.
- Hanger shot: Hang the garment on a wooden hanger against a plain wall. Keep the shot straight-on.
- Mannequin: If you have a torso mannequin, dress it and shoot front-on with even lighting.
Step 2: Choose Your Model (30 seconds)
Select a model reference that matches your brand's target audience. Things to consider:
- Demographics: Match the model to your customer base — age range, body type, and style aesthetic.
- Consistency: Use the same model across your catalog. Mixed models from different photoshoot sessions create a disjointed brand experience.
- Platform options: Most AI try-on tools offer a library of model images. Alternatively, upload a specific model image you have rights to use.
Step 3: Generate the Primary Image (30 seconds)
Upload both images to the AI tool and configure the primary shot:
- Pose: Standing, front-facing, straight posture — the standard e-commerce hero image.
- Background: Clean white or light gray for marketplace compliance (Amazon, Flipkart both require white/neutral backgrounds for primary images).
- Camera frame: Full-body to show the complete garment.
- Lighting: Soft, even studio lighting.
Hit generate. The result appears in about 30 seconds — your primary product listing image.
Upload your garment and get a studio-quality AI mockup in 30 seconds. 5 free credits, no card needed.
Try Free Now →
Step 4: Generate Supporting Angles (60 seconds)
A single front shot isn't enough. Generate these additional views:
- 45-degree angle: Shows the garment's silhouette and side profile. Use a walking pose for a dynamic feel.
- Back view: If your garment has back detailing (prints, zippers, design elements), generate a back-facing shot.
- Close-up / waist-up: Focuses on the neckline, collar, and upper body detail — particularly important for tops, shirts, and ethnic wear with neck embroidery.
With CatalogX's E-Commerce Pack feature, these three angles are generated automatically in a single batch — one click, three images.
Step 5: Generate a Lifestyle Image (30 seconds)
Switch the background from studio white to a contextual setting:
- Ethnic wear: Festive or traditional indoor setting.
- Casual/streetwear: Urban backdrop or outdoor setting.
- Formal wear: Modern office or minimal interior.
Lifestyle images show the garment in context and help buyers imagine wearing it. Listings with at least one lifestyle image tend to have higher engagement.
Step 6: Add Your Detail Shot (30 seconds)
This is the one image you'll take manually — a close-up of the fabric texture, print pattern, stitching, or embellishment detail. This can be shot with a smartphone:
- Get close — fill the frame with the detail area.
- Use natural light for accurate color.
- Keep it sharp — tap to focus on the detail point.
Buyers use detail shots to assess quality. AI model shots show fit and style; detail shots prove quality. Together, they cover both sides of the purchase decision.
Step 7: Upload and List (60 seconds)
You now have 5-6 images ready for your listing:
- Primary model shot (front, white background)
- 45-degree angle shot
- Close-up / waist-up shot
- Lifestyle shot (contextual background)
- Manual detail close-up
- Optional: back view (if garment has back design)
Upload these to your e-commerce platform in the correct order. Primary image first, then angles, then lifestyle, then detail.
Tips for Best Results
- Garment prep: Steam or iron the garment before your reference photo. Wrinkles in the input = wrinkles in the AI output.
- Lighting consistency: If you're photographing multiple garments, keep your lighting setup consistent. AI output is more consistent when inputs are consistent.
- Test and iterate: Your first few AI generations might not be perfect. Adjust pose, angle, and lighting settings until you find the combination that works best for your garment category.
- Batch workflow: If you have 50 new products, photograph all garments first, then batch-generate all AI images. This is much more efficient than doing them one at a time.
The New Standard
The bar for e-commerce product photography is rising. Buyers expect model shots, multiple angles, and lifestyle context. AI has made this accessible to brands of every size — not just those with five-figure photography budgets. If your listings are still using single flat-lay images, you're competing at a disadvantage against brands that have already made this shift.
Related Articles
- AI Virtual Try-On: How It Works and Why Brands Are Switching
- The Exact Image Sizes Every Indian Marketplace Requires in 2026
- Free AI Product Photo Generator for Indian Fashion Sellers
Frequently Asked Questions
Use AI tools to automate the image creation process. Upload a garment photo to a tool like CatalogX, generate model-on shots in under a minute, remove backgrounds, and export for each marketplace format. The entire process from garment photo to published listing can take under 5 minutes with AI.
A complete e-commerce listing needs a minimum of 3-4 images: a front-facing primary shot on white background, back view, detail close-up, and ideally a lifestyle or context shot. Marketplaces like Myntra require at least 4 images. More image slots used generally leads to higher conversion rates.
Yes, AI virtual try-on tools generate professional model-on shots that meet Myntra's image requirements without a physical photoshoot. Upload a flat-lay or mannequin shot, select a model and pose, and generate images at Myntra's required 3:4 aspect ratio with white background. These pass Myntra's QC checks.
With AI tools, you can create a complete product listing in under 5 minutes. Image generation takes 30-60 seconds, background removal takes under 10 seconds, and marketplace export is instant. Compare this to traditional photography which requires days of planning, shooting, and post-production.
AI product photo generation is the most affordable option, starting from free (CatalogX offers 5 free credits on signup). Paid plans cost Rs 15-40 per image versus Rs 500-2,000 for traditional photography. Free tools for background removal and upscaling are included. This reduces listing creation costs by over 90%.