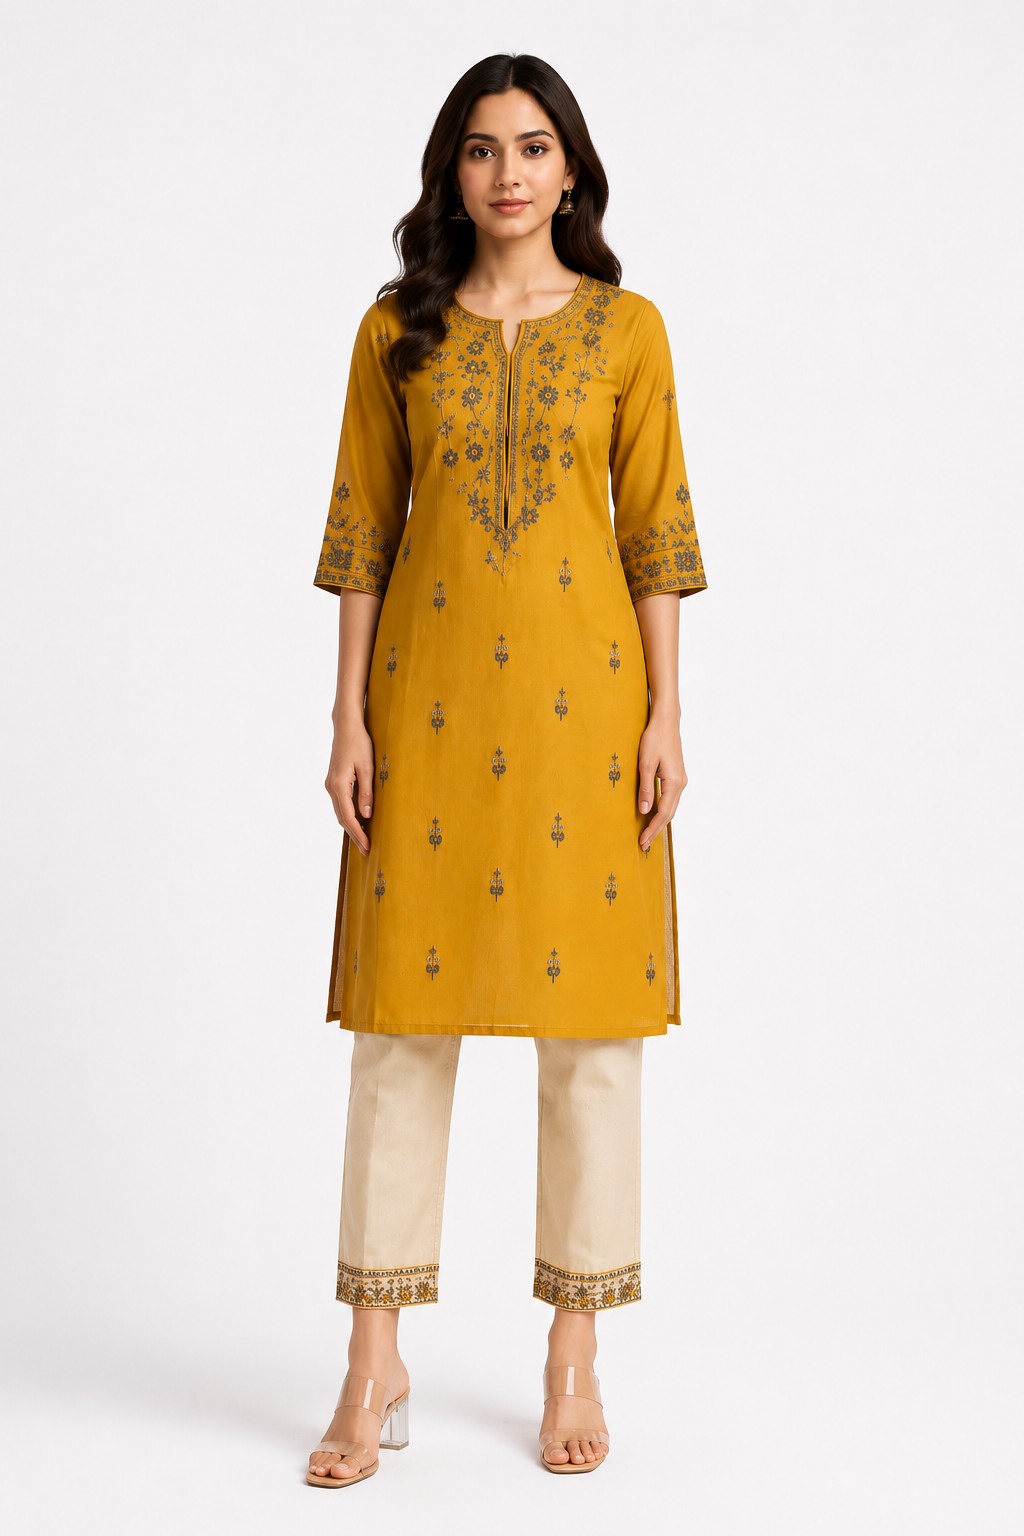
Professional product photography in India costs 500-2,000 rupees per image once you add up studio, photographer, and editing. For a seller with 50 SKUs and three colorways each, that's a lakh or more before a single sale. No wonder most small fashion sellers in India shoot at home.
The good news: with a phone from the last few years, a window, and under 3,000 rupees of equipment, you can produce garment photos clean enough for Amazon, Flipkart, Meesho, and Myntra. This guide walks through the complete home setup — lighting, backdrops, camera settings, flat-lay vs hanging techniques, and editing — and then shows where AI tools now eliminate the hardest 80% of the work entirely.
The Under-3,000-Rupee Home Studio
Here's the full shopping list. Most of it you already own:
| Item | Budget Option | Approx. Cost |
|---|---|---|
| Camera | Any smartphone from the last 3-4 years | Already owned |
| Light | 18-inch ring light with stand, or 2x 5500K LED bulbs with clamp holders | 1,200-2,500 |
| Backdrop | White chart paper roll / ironed white bedsheet / plain wall | 100-400 |
| Tripod | Basic phone tripod, or a stack of books | 0-600 |
| Steamer/iron | Your household iron works fine | Already owned |
| Tape, clips, pins | Masking tape and binder clips for positioning garments | 100 |
Skip the "photography kits" sold online with umbrellas and multiple flashes — they're overkill for garment photography, and half of the cheap kits produce worse color than a single good ring light.
Lighting: The 80% Factor
Lighting decides more of your image quality than your camera does. Get lighting right and a mid-range phone beats a DSLR shot under a yellow tube light.
Option 1: Free Natural Light (Best Quality)
- Use indirect daylight. Set up 1-2 metres from a large window that doesn't get direct sun — north-facing is ideal in India. Direct sunlight creates harsh shadows and blown-out highlights on fabric.
- Shoot between 10 AM and 3 PM. Morning and evening light is warm-tinted and shifts quickly, making your catalog colors inconsistent between shots.
- Diffuse if needed. If the window gets sun, tape a thin white curtain or even butter paper over it — instant softbox.
- Use a bounce. A white chart paper or thermocol sheet on the shadow side of the garment fills in dark areas and evens out the light. This one free trick visibly upgrades most home photos.
- Turn off all room lights. Mixing warm household bulbs with daylight is the most common cause of weird color casts in home product photos.
Option 2: Affordable Artificial Light (Most Consistent)
Natural light varies by weather and time; artificial light gives you the same result at 11 PM as at 11 AM — important if you shoot after your day job.
- Ring light setup: An 18-inch ring light (around 1,500-2,500 online) directly behind or beside your phone gives even, shadow-free lighting for flat-lays and small garments. Set it to the white/daylight mode (5500K), never the warm mode.
- Two-bulb setup: For hanging garments, two 5500K LED bulbs in clamp holders at 45 degrees on either side, slightly above garment height, eliminate side shadows. Add your white bounce board below to soften under-shadows.
- Golden rule: All light sources must be the same color temperature. One daylight LED plus one warm bulb ruins the shot.
Backdrops: Cheap Options That Look Professional
- White chart paper / cartridge paper roll: The best budget backdrop. Tape it to the wall and curve it onto the table or floor (a "sweep") so there's no visible seam line behind the garment.
- Ironed white bedsheet: Works if pulled taut — wrinkles in the backdrop look worse than wrinkles on the garment. Clip it to a curtain rod and stretch the bottom.
- Plain light-grey or off-white wall: Fine for supporting images. Note that Amazon's main image requires pure white (RGB 255,255,255), which no home backdrop achieves straight out of camera — you'll fix this with background removal in editing, or let an AI tool handle it.
- Avoid: Textured walls, patterned bedsheets, marble floors for main images, and any backdrop close in color to the garment (a white kurti on a white sheet loses all its edges).
Phone Camera Settings That Actually Matter
- Clean the lens. Sounds trivial; fixes more blurry product photos than any setting.
- Use the main 1x lens. Never the ultra-wide (it bends garment edges) and avoid heavy digital zoom. Step closer or farther instead.
- Lock focus and exposure. Tap and hold on the garment until you see AE/AF lock. This stops the phone from re-metering between shots and keeps your catalog exposure consistent.
- Slightly underexpose. Drag the exposure slider down a touch — recovering slightly dark fabric detail in editing is easy; blown-out white fabric is gone forever.
- Turn off flash. Direct phone flash flattens texture and creates hotspots on silk and synthetic fabrics.
- Shoot at maximum resolution and, if your phone supports it, in the highest quality JPEG/HEIF setting. Marketplaces want 1000-2000px minimums, and you need cropping headroom.
- Stabilize the phone. Tripod, or prop it against books. Use the 3-second timer so pressing the shutter doesn't shake the frame.
- Set white balance manually if possible. In your camera's pro mode, set WB to match your light (Daylight/5500K). Auto WB drifts between shots and makes the same kurti look like three different colors.
Flat-Lay vs Hanging: Choosing Your Technique
Flat-Lay (Shooting From Above)
The garment lies on the floor or a table; you shoot from directly overhead.
- Best for: T-shirts, kurtis, kidswear, folded sarees showing the border, co-ord sets.
- Technique: Iron the garment first — wrinkles are the #1 amateur giveaway. Lay it symmetrically, smooth from the centre outward, and tuck slight folds under the garment to create shape (rolled tissue paper inside sleeves gives a subtle 3D effect). Shoot with the phone perfectly parallel to the surface; most phones show a level indicator or crosshair for this.
- Watch out for: Your own shadow falling on the garment. Position the light to the side, not behind you.
Hanging Shots
The garment hangs on a hanger against your backdrop.
- Best for: Dresses, dupattas, sarees on display, lehengas, anything that sells on drape and length.
- Technique: Use a slim wooden or velvet hanger (thick plastic hangers distort shoulders), hang from a wall hook or curtain rod, and clip the garment at the back to shape the waist if it looks shapeless. Shoot from chest height of the garment, straight-on.
- Watch out for: Amazon and some categories reject visible hangers in main images. Either frame below the hanger, or remove it in editing / use a ghost-mannequin AI effect.
A Simple Shooting Workflow for Batch Days
- Steam or iron every garment the night before.
- Set up light, backdrop, and locked phone position once — then don't move anything.
- Shoot one test garment, check it at full zoom on a bigger screen, adjust, then run the batch.
- For each garment: full shot, close-up of fabric/print, close-up of neckline or detail, back view.
- Shoot each item twice — insurance against focus misses you only notice later.
- Name and folder your files by SKU immediately. Future you will be grateful.
With a fixed setup, 30-40 garments in a morning is realistic.
Editing: The Final 20%
- Crop to the marketplace ratio — 1:1 square for Amazon and Flipkart main images — with the product filling around 85% of the frame.
- Correct white balance first, then exposure. Free tools like Snapseed (whites/color temperature sliders) or Lightroom Mobile's free tier are enough.
- Resist the saturation slider. Boosted colors get clicks and generate returns when the real kurti arrives duller. Accuracy wins long-term.
- Remove the background for main images. This is where DIY gets painful — manual cutouts of lehenga hems and dupatta edges take 10-15 minutes per image in free apps, and sloppy edges get listings rejected.
- Export large: 2000 x 2000 px where possible, JPEG at high quality, under each marketplace's file size cap.
Fabric-Specific Problems (and Home Fixes)
Different fabrics fail in different ways under home lighting. Knowing the failure mode saves hours of reshoots:
- Silk and satin: Create hotspots — bright glare patches — under direct light. Move the light farther away and bounce it off a white wall or sheet instead of aiming it at the garment. The shimmer should read as a gradient, not a white blob.
- Black and very dark fabrics: Phones underexpose them into detail-less silhouettes. Tap on the garment and raise exposure slightly, and add more fill light than you think you need. Check that seams and texture are visible at zoom.
- White and cream garments: The opposite problem — they blow out and merge into the backdrop. Slightly underexpose, and use a light-grey backdrop instead of white so the garment keeps its edges.
- Chiffon and georgette: Look shapeless flat. Give them structure: hang them, or lay them with deliberate soft folds rather than pressed flat. Their selling point is flow, so let the fabric curve.
- Sequins and mirror work: Never use flash or a ring light head-on — every sequin becomes a starburst. Use angled side lighting and accept a couple of test shots to find the angle where the work sparkles without flaring.
- Sheer fabrics: Whatever is behind them shows through. Use a white underlay board beneath sheer flat-lays so the backdrop color doesn't shift the garment's apparent color.
The Honest Limits of DIY — and Where AI Takes Over
A home setup gets you clean flat-lays and hanging shots. But two problems remain that no ring light solves:
- Model shots. Fashion listings with on-model images get 20-30% higher click-through rates, and Myntra effectively requires them. Hiring a model at home isn't practical for most sellers, and shooting on yourself or family rarely looks catalog-grade.
- The post-production grind. Background removal, marketplace-specific resizing, and keeping every image consistent across 100+ SKUs eats evenings for weeks.
This is exactly the gap AI tools now fill. With CatalogX, your home photography workload shrinks to a single task: capture one clean, well-lit flat-lay of each garment — everything in this guide up to the shooting section. Then:
- Upload the flat-lay to CatalogX.
- Pick a model and pose suited to the garment — the AI generates a photorealistic model-on shot from your flat photo.
- Export marketplace-ready files — pure white backgrounds, exact Amazon/Flipkart/Meesho/Myntra dimensions, correct ratios — in one click, no manual cutouts.
At roughly 299 per generation, the economics beat both a studio (2,000-4,000 per SKU) and the hidden cost of your own editing hours. Your ring light and chart paper still matter — a sharp, evenly lit, wrinkle-free source photo produces noticeably better AI results — but the model, the studio, and the late-night Photoshop sessions are no longer part of the job.
Troubleshooting: Why Your Home Photos Still Look "Off"
If you've followed the setup and the photos still don't look professional, it's almost always one of these five, in descending order of likelihood:
- Color cast. The whole image leans yellow, green, or blue. Cause: mixed light sources or auto white balance. Fix: one light source, manual WB, and check the backdrop — it should look neutral white/grey in the photo, not cream.
- Muddy shadows on one side. Cause: single light with no fill. Fix: white bounce board on the shadow side, 30-50cm from the garment.
- Garment looks flat and lifeless. Cause: light aimed straight-on from the camera position flattens texture. Fix: move the light 30-45 degrees off-axis so fabric weave catches slight shadow definition.
- Soft, not-quite-sharp images. Cause: handheld shake or the phone focusing on the backdrop. Fix: tripod + timer, tap-to-focus on the garment's centre, and clean the lens.
- Perspective distortion. Flat-lays where the garment looks wider at one end. Cause: phone not parallel to the surface. Fix: use the camera level indicator, and raise the phone higher while framing tighter (less lens tilt needed).
Diagnose in that order and you'll fix 95% of home photo problems without buying anything new. And if a photo still looks wrong after all five checks, reshoot rather than over-edit — heavy editing on a flawed source always shows, especially once a marketplace zoom or an AI generation magnifies it.
Quick-Reference Checklist
- Indirect daylight or 5500K artificial light — never mixed
- White bounce board opposite the light source
- Ironed garment, ironed backdrop
- Main 1x lens, AE/AF locked, flash off, max resolution, tripod + timer
- Flat-lay for structured tops; hanging for drape-driven garments
- Edit for accuracy, not vibrance; export at 2000 x 2000 px
- Use AI for model shots, background removal, and marketplace sizing
Related Articles
- Why Product Photography Is So Expensive for Fashion Brands
- Flat-Lay vs Model Shots: Which Sells More?
- AI Try-On vs Studio Photoshoot: Cost Breakdown for Indian Fashion Sellers (2026)
Frequently Asked Questions
At minimum: a smartphone with a decent camera (any phone from the last 3-4 years works), a window with indirect daylight or an 18-inch ring light (1,200-2,500 rupees), a plain white or light backdrop such as a chart paper roll or ironed white bedsheet, an iron or steamer to remove wrinkles, and tape or clips to position the garment. Total budget: under 3,000 rupees.
Indirect natural daylight from a north-facing window between 10 AM and 3 PM is the best free option — soft, even, and color-accurate. If you shoot at night or in a dim room, use an 18-inch ring light or two 5500K LED softbox bulbs positioned at 45 degrees on either side of the garment. Never mix daylight with warm household tube lights or bulbs, as mixed color temperatures ruin color accuracy.
Flat-lay works best for t-shirts, kurtis, and kidswear — shoot from directly above with the garment smoothed and symmetrical. Hanging works better for dresses, sarees, dupattas, and anything that sells on drape, since gravity shows the natural fall of the fabric. Whichever you choose, keep it consistent across your catalog.
Use the main (1x) lens, never the wide-angle which distorts garments. Clean the lens, lock focus and exposure by tapping and holding on the garment, turn off flash, set white balance to daylight if your camera app allows it, and shoot at the highest resolution available. Use a tripod or prop the phone against a stack of books to eliminate blur.
Largely, yes. You still need one clean, well-lit flat-lay photo of each garment, but AI tools like CatalogX then generate the model shots, marketplace-compliant backgrounds, and correctly sized exports automatically. This removes the hardest parts of DIY photography — model shots, background perfection, and per-marketplace resizing — while keeping your cost per SKU minimal.