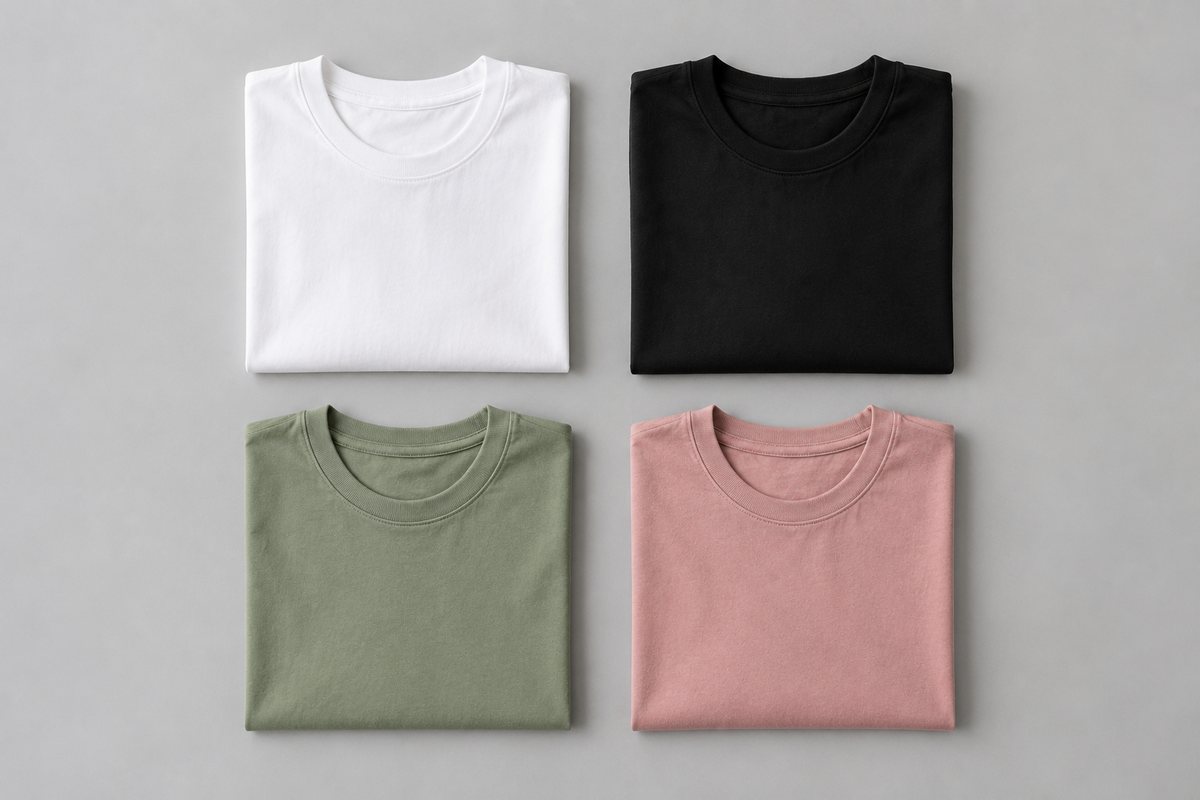
If you sell t-shirts — print-on-demand designs, streetwear drops, event merchandise, or plain wholesale tees — you face the same problem as every apparel seller: buyers want to see the shirt on a person, and photoshoots cost more than most t-shirt margins can absorb. A single studio session with a model runs 15,000-40,000 in India, which makes zero sense when your product sells for 399.
That's what mockup generators solve. This guide explains how they work, compares the free options honestly, walks through creating a realistic AI model photo step by step, and covers the marketplace and print-on-demand specifics that decide whether your mockups actually convert.
What Is a T-Shirt Mockup Generator?
A mockup generator produces a product photo of your t-shirt without a physical photoshoot. There are two fundamentally different kinds, and knowing the difference saves you from wasting time on the wrong one:
1. Template-Based Generators
These overlay your flat design file (a PNG of your artwork) onto a pre-shot stock photo of a model or a blank tee. Placeit, Canva, Smartmockups, and Mockey work this way.
- Strengths: Instant, thousands of templates, no product needed — just the artwork file.
- Weaknesses: The print sits "on top of" the photo rather than in it — it doesn't warp naturally over fabric folds, lighting rarely matches, and the same stock models appear in thousands of competitor listings. Shoppers on Indian marketplaces have learned to recognize (and scroll past) the most common Placeit models.
2. AI-Based Generators
These take a photo of your actual t-shirt (or your design applied to a shirt) and generate a brand-new photorealistic image of a model wearing it. CatalogX works this way.
- Strengths: The fabric drapes naturally, the print bends realistically over folds and seams, lighting is coherent because the whole image is generated together, and you choose the model's look, pose, and background — so your images are unique to your brand.
- Weaknesses: Usually credit-based rather than unlimited-free, and quality depends on giving it a clean input photo.
Mockup Options Compared
| Tool | Type | Shows your real printed shirt? | Best For | Limitations |
|---|---|---|---|---|
| Canva | Template | No — artwork overlaid on a stock photo | Social posts, quick previews | Limited apparel templates; flat look |
| Mockey | Template | No — artwork overlaid on a stock photo | POD sellers testing designs | Widely reused templates; limited model diversity |
| Placeit | Template | No — artwork overlaid on a stock photo | Large template variety | Print sits on top of the fabric; most-recognized stock models |
| Smartmockups | Template | No — artwork overlaid on a stock photo | Quick multi-product previews | Print does not follow folds or lighting |
| CatalogX | AI generation | Yes — rendered from a photo of your actual shirt | Marketplace listings and realistic model photos | Needs a clean photo of the physical shirt; credit-based after 5 free signup credits |
The honest summary: template tools are fine for a design preview or an Instagram teaser. For a marketplace main image — where realism, uniqueness, and compliance decide your click-through rate — AI generation is the only free-to-start option that produces photos buyers can't distinguish from a real shoot. For a deeper feature-by-feature comparison, see our t-shirt mockup generator comparison.
Step-by-Step: Creating a Realistic T-Shirt Model Photo with CatalogX
Here's the complete workflow, from design file to marketplace-ready image. Total time: about 10 minutes for your first shirt, under 2 minutes once you've done it before.
Step 1: Prepare Your Input Photo
The AI needs to see your actual shirt. Two ways to provide it:
- If you have physical stock: Shoot one flat-lay — shirt ironed, laid symmetrically on a plain surface, even lighting, photographed from directly above with your phone's main lens. Sharp print detail in equals sharp print detail out.
- If you're print-on-demand and have no physical shirt yet: Apply your design to a blank tee image at accurate size and placement (your POD platform's flat preview works), and use that as the input. Keep the design file at high resolution — a pixelated PNG produces a pixelated print in the output.
Step 2: Upload and Pick Your Model
Upload the photo to CatalogX and choose a model. Match the model to your buyer, not to a generic ideal: streetwear drops for college students, everyday crew-necks for a 30+ audience, and couple tees each call for different looks. Because you can generate the same shirt on different models, you can also match models per platform — one look for Myntra's fashion-forward audience, another for Meesho's value shopper.
Step 3: Choose Pose and Framing
- Main image: Front-facing, upright pose, arms relaxed — maximum print visibility, meets the 85% frame-fill rule.
- Supporting images: A three-quarter pose showing the fit, and a casual pose (hands in pockets, mid-step) for lifestyle feel.
- Back-print designs: Generate a back pose too — sellers with back prints who only show the front leak half their design's value.
Step 4: Generate and Review
Generation takes seconds. Review at full zoom and check the three things that matter: the print is faithful (colors, edges, text legibility), the fabric drape looks natural around the print, and the shirt color matches your real product. If something's off, regenerate with a different pose or a cleaner input photo.
Step 5: Export for Your Marketplace
Use Marketplace Export to output each platform's exact spec in one click — 2000x2000 pure white for Amazon's main image, Flipkart and Meesho dimensions, plus a square social crop. No manual resizing, no background cleanup.
Tips for Print-on-Demand Sellers
- Mock up before you manufacture. The core POD advantage is testing demand with zero inventory. Generate model photos for 10 design candidates, run them as low-budget Instagram or Meesho listings, and only send winners to production.
- Keep print placement honest. If your printer produces a 10-inch chest print, don't mock up a 14-inch print. Mismatch between mockup and delivered product is the fastest route to returns and one-star reviews.
- Show the same design on multiple shirt colors. Generate the black, white, and navy versions in identical poses — clean variant swatches that build a professional-looking listing family.
- Build a consistent brand grid. Use the same model and background style across your whole store. A POD store where every listing features a different stock template looks like a dropshipper; a consistent model look reads as a brand.
- Don't forget close-ups. Add one tight crop of the print area so buyers can judge print quality — especially important for typography designs.
Marketplace-Specific Mockup Tips
| Platform | Mockup Requirements & Tips |
|---|---|
| Amazon India | Main image: pure white background (RGB 255,255,255), 1000x1000 minimum (2000x2000 recommended), no text/logos/watermarks. Model shots allowed and outperform flat tees. Use lifestyle backgrounds only in secondary images. |
| Flipkart | 1000x1000+ recommended, light background for the main image. T-shirts rank better with model shots; fill all attribute fields (neck type, sleeve, fit) since t-shirt browsing is heavily filtered. |
| Meesho | Minimum 500x500, no watermarks or promotional text. Meesho's reseller audience forwards images on WhatsApp — model shots with clean backgrounds get shared far more than flat-lays. |
| Myntra | Model shots effectively mandatory; minimum 5 images per style (front, back, side, detail, look). AI generation is the only economical way for small t-shirt brands to meet this bar. |
| Instagram/own store | No compliance rules — use lifestyle backgrounds, moodier lighting, and vary poses. Keep one consistent model per collection for a cohesive grid. |
How to Get the Most Realistic Results from Any Generator
Whether you use a template tool or AI generation, output quality follows input quality. The checklist that separates convincing mockups from obvious fakes:
- Design file at 300 DPI, transparent PNG. Export your artwork at print resolution (typically 3000-4200px wide for a full chest print). Compressed JPEGs with white boxes around the art are the most common amateur tell.
- Accurate print dimensions. Measure your printer's actual maximum print area (commonly A3 or 12x16 inches for DTG in India) and scale the design in the mockup to match. Oversized mockup prints are the top cause of "not as shown" complaints in POD.
- Match shirt color codes. Get the actual hex or Pantone reference of your blank supplier's shirts and use the closest available mockup color. "Maroon" varies enormously between blank manufacturers.
- Consistent lighting story across a listing. If your main image is bright studio light, don't mix in a moody sunset lifestyle shot as image two — it reads as assets scraped from different sources.
- Sanity-check at thumbnail size. Marketplace shoppers see your image at under 200px first. Shrink your mockup to thumbnail and confirm the design is still legible; intricate designs often need a tighter crop for the cover image.
Beyond T-Shirts: Reusing the Same Workflow
Once your flat-lay-to-model pipeline works for tees, the identical workflow covers the rest of a casualwear catalog: hoodies and sweatshirts (shoot the flat-lay with the hood arranged neatly), polos, oversized drops, co-ord sets, and kidswear tees. One photography session and one generation workflow scale across the whole store — which is exactly how small Indian streetwear brands are now shipping Myntra-grade imagery without a Myntra-grade budget.
Common Mockup Mistakes That Kill Conversions
- Using the same viral template as 5,000 other sellers. Shoppers subconsciously register "seen this photo before" as "dropshipped product."
- Print floating on the fabric. The giveaway of cheap template mockups — the design doesn't follow a single fold. AI generation or a real photo fixes this.
- Wrong shirt color in the mockup. Selling a charcoal tee with a jet-black mockup guarantees "product not as shown" returns.
- Low-resolution design files. Marketplaces let shoppers zoom; a fuzzy print at zoom reads as poor print quality even if your actual printing is sharp.
- Text or badges on the main image. "Best Seller!" overlays get listings suppressed on Amazon and rejected on Meesho.
- Only front views. Fit-conscious buyers check the side and back. Two extra generated poses cost seconds and close the gap.
Mockup Approaches: What Each One Actually Delivers
It's worth comparing the three ways to get t-shirt imagery honestly, using a realistic small catalog of 20 designs:
| Approach | Shows Your Real Shirt? | Time | Result Quality |
|---|---|---|---|
| Studio photoshoot | Yes | 2-4 weeks end to end | Excellent, but frozen — new designs need new shoots |
| Template tools | No — your artwork printed onto a stock photo | 1-2 hours | Flat, widely recognized stock looks; weak on marketplaces |
| AI generation (CatalogX) | Yes — rendered from your flat-lay photo, print and colour checked against it | 1-2 hours including flat-lay shooting | Photorealistic, unique to your brand, marketplace-compliant exports |
Template tools are quick, but what a buyer sees is your artwork pasted onto someone else's photo: the print doesn't follow the folds, the fabric colour is the template's rather than your blank's, and the same stock models appear in every other POD store. The studio shows the real shirt but only works above roughly 1,500-2,000 rupee price points. AI generation sits in the gap where most Indian t-shirt sellers actually operate — the real printed shirt on a model, at template-tool effort levels. On Pro and above, Quality mode reviews each image against your original photo and re-shoots any that fall below the bar, and batch mode takes up to 20 designs at once.
A sensible path: prototype your designs in Canva or Mockey while you're still iterating on artwork, then spend your CatalogX free credits on the designs you actually intend to list, photographed as real printed shirts, and pay per generation only for proven sellers and their colorways. At no point in that path do you spend money before a design has earned it.
A Note on Rights and Originality
Three legal-adjacent points t-shirt sellers routinely get wrong with mockups:
- Template licenses have limits. Free tiers of template sites often restrict commercial use or cap the number of paid listings an image can appear in. Read the license before your bestseller becomes a takedown notice.
- Never lift competitor or brand imagery. Marketplaces run duplicate-image detection, and using another seller's photos is grounds for delisting on Meesho and Amazon alike. Images generated from your own product photo are yours.
- Your design still needs to be yours. A perfect mockup of an unlicensed cartoon character is still an IP violation. Mockup tools change presentation, not ownership.
The Bottom Line
Free template mockups are a fine sketchpad; AI-generated model photos are what actually competes on a 2026 marketplace search page. The practical path: start with CatalogX's free credits, generate a front-facing model shot for your best design, put it live against your current image, and let the click-through data decide. For a product with t-shirt margins, a mockup workflow that costs a few hundred rupees per SKU — and zero photoshoots — is the difference between a hobby and a business.
Related Articles
- Best T-Shirt Mockup Generators Compared (2026) — Placeit vs Mockey vs CatalogX
- Free AI Product Photo Generator for Indian Fashion Sellers
- The Exact Image Sizes Every Indian Marketplace Requires in 2026
Frequently Asked Questions
A t-shirt mockup generator is a tool that places your design or an actual t-shirt photo onto a template or an AI-generated model, producing a realistic product photo without a physical photoshoot. Template-based generators overlay your artwork on stock photos, while AI-based generators like CatalogX create photorealistic model shots from a photo of your actual shirt.
Yes. CatalogX includes 5 free starter credits on signup — enough to generate realistic model photos of your first designs at no cost. Template sites can show a flat preview of your artwork, but they print it onto a stock photo rather than showing your actual shirt, and they reuse the same widely-seen stock models, which is why sellers move to AI generation for marketplace listings.
Yes. Amazon, Flipkart, Meesho, and Myntra accept AI-generated product photos as long as they accurately represent the product and meet image specifications — correct dimensions, compliant background, and no watermarks or text on main images. The image must show the real design being sold.
Template mockups paste your flat artwork onto a pre-shot stock photo, so fabric folds, lighting, and print placement often look artificial — and thousands of sellers use the same templates. AI mockups generate a new photorealistic image of your actual shirt on a model, with natural fabric drape, realistic print warping over folds, and a unique model look that competitors don't share.
Generate at 2000x2000 pixels in a 1:1 ratio to cover every major Indian marketplace. Amazon requires a minimum of 1000x1000 with a pure white background on the main image; Flipkart and Meesho accept 500x500 minimums but rank sharper images better. Export tools like CatalogX's Marketplace Export produce each platform's exact specification automatically.