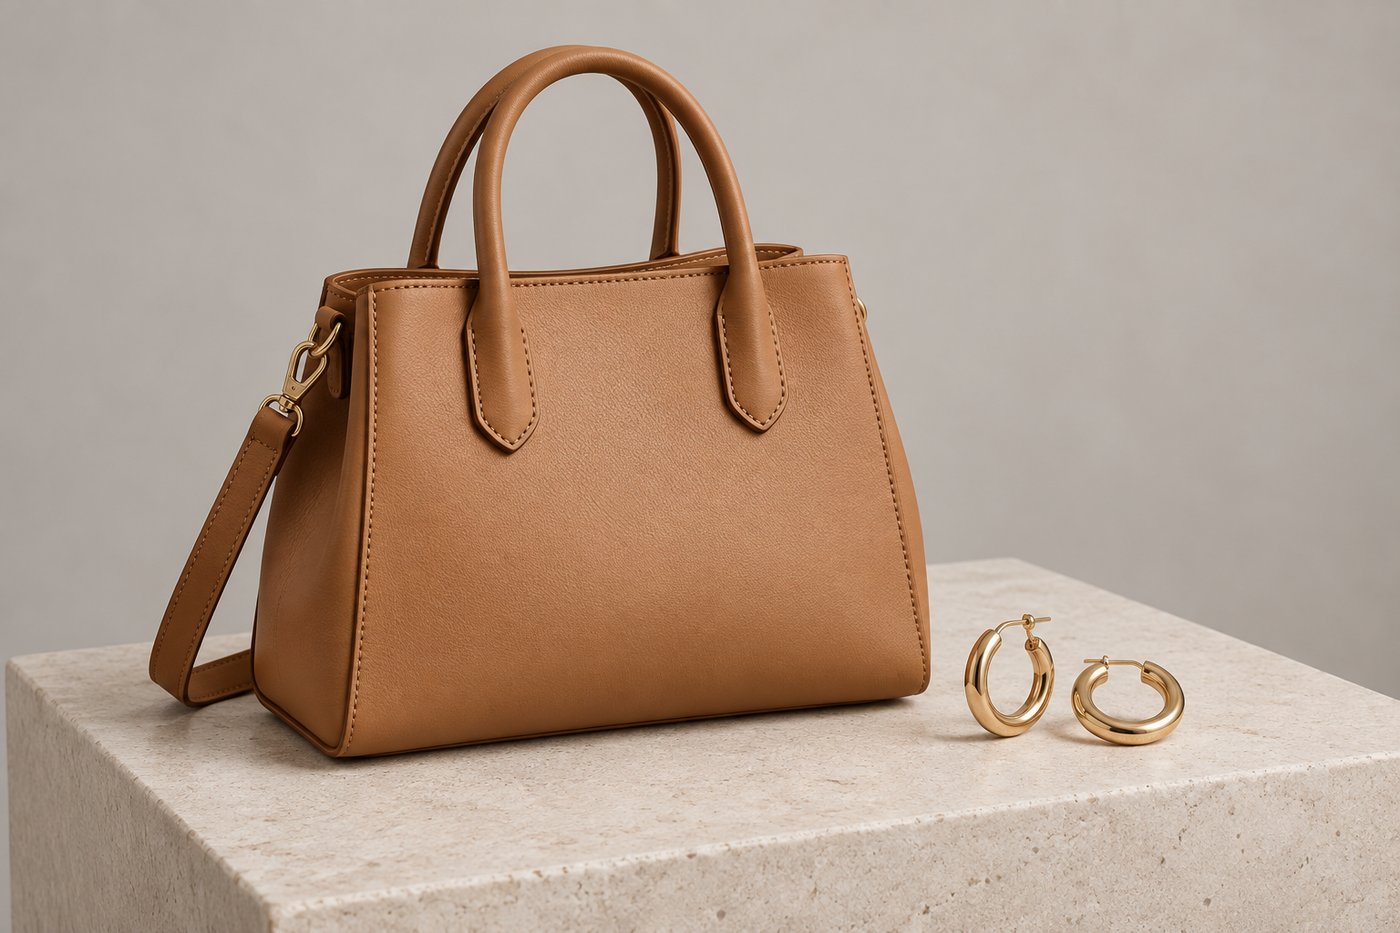
Search any marketplace for a handbag and compare the listings that show the bag floating on white against the ones that show it in a model's hand. The on-body listings answer the questions that decide the purchase: How big is it really? How does the strap sit? Does it read as evening or everyday? For accessories even more than clothing, context is the product photo.
Getting that context used to mean a photoshoot — a model, a photographer, and a day rate that makes no sense for a $45 clutch. AI product-to-model generation now produces the same shot from a single photo of the product. This guide covers how it works, which accessory types it handles, and the two details most sellers get wrong: scale and the outfit.
How Product-to-Model Generation Works
You upload one clear photo of the accessory — on a table, on a white sweep, even your supplier's catalog shot. The AI renders a photorealistic model carrying or wearing that exact product in a scene you choose. With CatalogX's accessory flow, three things stay under your control instead of being left to the model's imagination:
- Carry style (for bags): in hand, on shoulder, crossbody, or held up to the camera. Each is rendered deliberately — a relaxed grip that never covers the clasp, the strap sitting naturally, the front panel facing the lens.
- Product scale: you state the true size, from mini to oversized, and the render anchors it to the model's body. More on why this matters below.
- The scene: 50+ backgrounds from studio-clean to street and evening settings, so a straw tote can live on a sunny sidewalk and a box clutch at a dinner table.
The product itself is reproduced as photographed. Hardware, chain straps, embossing, stitching and logos stay exactly where they are — the same garment-fidelity rule CatalogX applies to clothing, applied to products.
The Scale Problem Nobody Warns You About
Here is the trap: a catalog photo carries no scale information at all. A mini clutch and a weekender tote photographed on the same white background are geometrically identical to an AI — and to a human, for that matter. Tools that ignore this render every bag at "default handbag" size, which means your palm-size party clutch shows up spanning the model's hip.
CatalogX solves this with an explicit product-size input — mini, small, medium, large or oversized — anchored to the body rather than to centimeters: a mini fits within one open hand, an oversized piece is carried with the whole arm or over the shoulder. You state it once per product, and the seller's stated size overrides whatever the reference photo seems to imply. Buyers returning a bag because "it looked bigger in the photo" is a returns category you can simply delete.
The Outfit Should Never Compete with the Product
The second detail that separates a usable accessory photo from a wasted credit: what the model is wearing. In an accessory shot, the outfit is the background. If the AI dresses the model in a busy pattern — or, a failure mode we have actually engineered against, in an outfit generated from your product's own print — the product camouflages into the frame instead of popping out of it.
CatalogX restyles the model's outfit into plain, neutral clothing by default for every accessory generation. Your model photo acts as a face and pose reference only; the styling serves the product. If you want a specific look — "black turtleneck and gold hoops" for a jewelry shot — you say it in the prompt box and the neutrals rule yields to your instruction.
Which Accessories Work
| Category | Types | What the Render Gets Right |
|---|---|---|
| Bags | Handbag, clutch, tote, sling bag, backpack, wallet | Carry style, scale against the body, hardware and clasp visible |
| Worn | Belt, scarf and stole, sunglasses, watch, jewelry | Correct placement, close framing, nothing added you did not upload |
| Footwear | Heels, flats, sneakers | Both shoes in frame, true heel height in side profile, panels and logos preserved |
Each category has its own rendering rules rather than being treated as "small garment". Jewelry, for instance, is framed close enough to sell the piece — see the jewelry and watch photography guide — while footwear always shows a real side profile so heel height is honest. Bags get the full carry-style treatment covered in the handbag photography guide.
A Workflow That Fills a Listing Gallery
- Shoot the product once, cleanly. Flat, well-lit, plain background. This single photo is the source of truth for everything the AI renders.
- Set the type and true size. Pick the accessory type, then state the real-world size honestly — the render will hold you to it, which is the point.
- Generate the hero. Model, scene, carry style. This is the photo that wins the search-results click.
- Vary the context, not the product. The same clutch held up to camera for the thumbnail, in hand at an evening scene for lifestyle, plus your own macro shot of the hardware — a complete gallery from one upload.
- Keep one model across your line. A consistent face and styling across every listing makes a 40-SKU accessories shop read as a brand.
On cost: accessory brands are the same math as clothing brands, only sharper — the products are cheaper, so a US studio day is harder to justify. The full US cost comparison puts studio work at $50-150 per finished image; an AI accessory shot is a single credit, and you start with 5 free ones.